Even with the best upkeeping, asphalt surfaces require maintenance every now and then. Although weather is a big contributor to asphalt damage, asphalt surfaces like driveways and parking lots are particularly vulnerable areas since vehicles constantly drive over them.
However, if cracks and holes are appearing on an asphalt surface, this doesn’t necessarily mean it’s time to replace the whole structure. Rather, this likely means that it’s time to get the asphalt resurfaced. Stay with us as we break down what asphalt resurfacing is, the benefits of asphalt resurfacing and when it’s time to pull the trigger on an asphalt resurfacing job.
Explore All Compaction Equipment
What Is Asphalt Resurfacing?
Asphalt resurfacing is the process of replacing the top layer of asphalt with a new layer. A relatively inexpensive way to fix blemishes on a driveway, parking lot or paved road, asphalt resurfacing involves removing, or milling, damaged asphalt and then replacing it layer by layer with fresh asphalt.
While you’ll most commonly use asphalt resurfacing on driveways, you can replace asphalt anywhere you notice cracks and holes beginning to form. Pedestrian walkways, basketball courts and private roads are also areas that may be susceptible to asphalt wear and tear and need a refresh every now and then.
Benefits of Asphalt Resurfacing
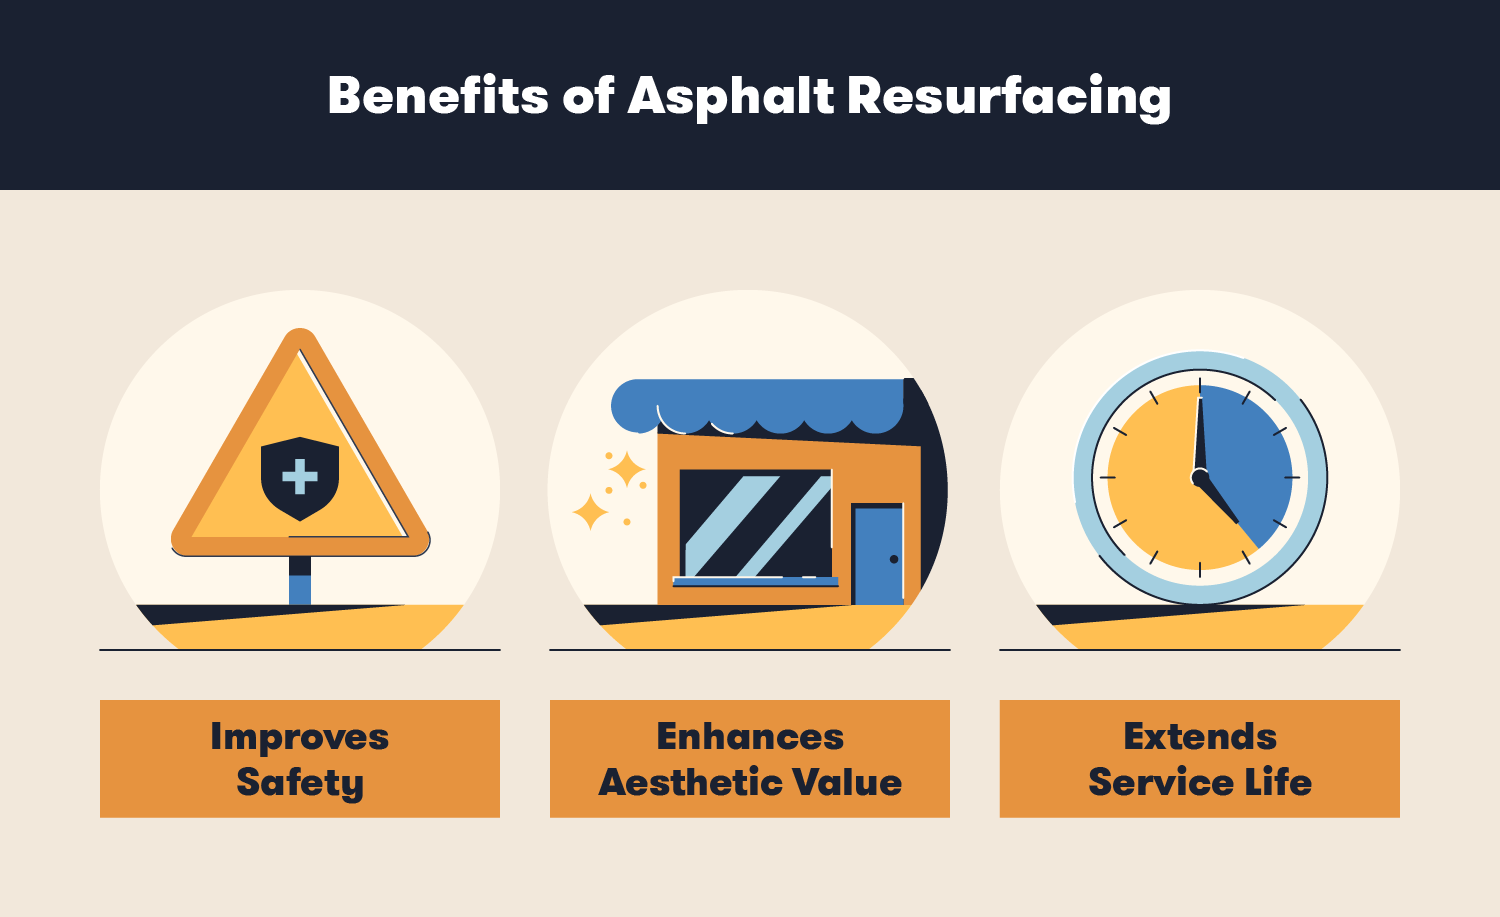
Besides improving the look of the asphalt, resurfacing has a number of other benefits. Three big ones include:

Improves Safety
When cracks go unrepaired, they’ll continue to grow deeper and present a serious safety hazard. Large cracks and depressions, especially in a driveway, can cause significant damage to a vehicle over time.
Damaged asphalt in driveways and paved walkways can additionally lead to human injuries. When asphalt surfaces go too long without resurfacing, potholes and other uneven surfaces form that can cause serious trip and fall injuries.
Enhances Aesthetic Value
For homeowners and commercial property owners, maintaining an aesthetically pleasing asphalt driveway or parking lot can mean higher resale value and more business. When these ugly blemishes take over the pavement, it lends a bad first impression to potential homebuyers and customers. A sleek asphalt pavement adds to the overall aesthetic of the property, whatever it may be.
Extends Service Life
Asphalt pavements typically last around 30 years. But, without a resurfacing every now and then, it’s likely they won’t make it that long. Getting an asphalt resurfacing when needed extends the working life of a driveway or paved road, allowing it to maximize its usability. Asphalt resurfacing is recommended every 15-20 years.
Getting on top of deterioration is imperative for expanding the lifespan of any asphalt surface. For instance, if cracks in a driveway go without repair, it can eventually lead to damages to the concrete structure of the driveway, requiring the driveway to be replaced before its working life is over.
When Should You Consider Asphalt Resurfacing?

Like we said, it’s recommended that you remind clients to apply a fresh coat of asphalt every 15 or so years. However, if a customer notices damage or signs of aging prior to then, there’s no harm in jumping on it earlier to ensure they don’t need a full replacement.
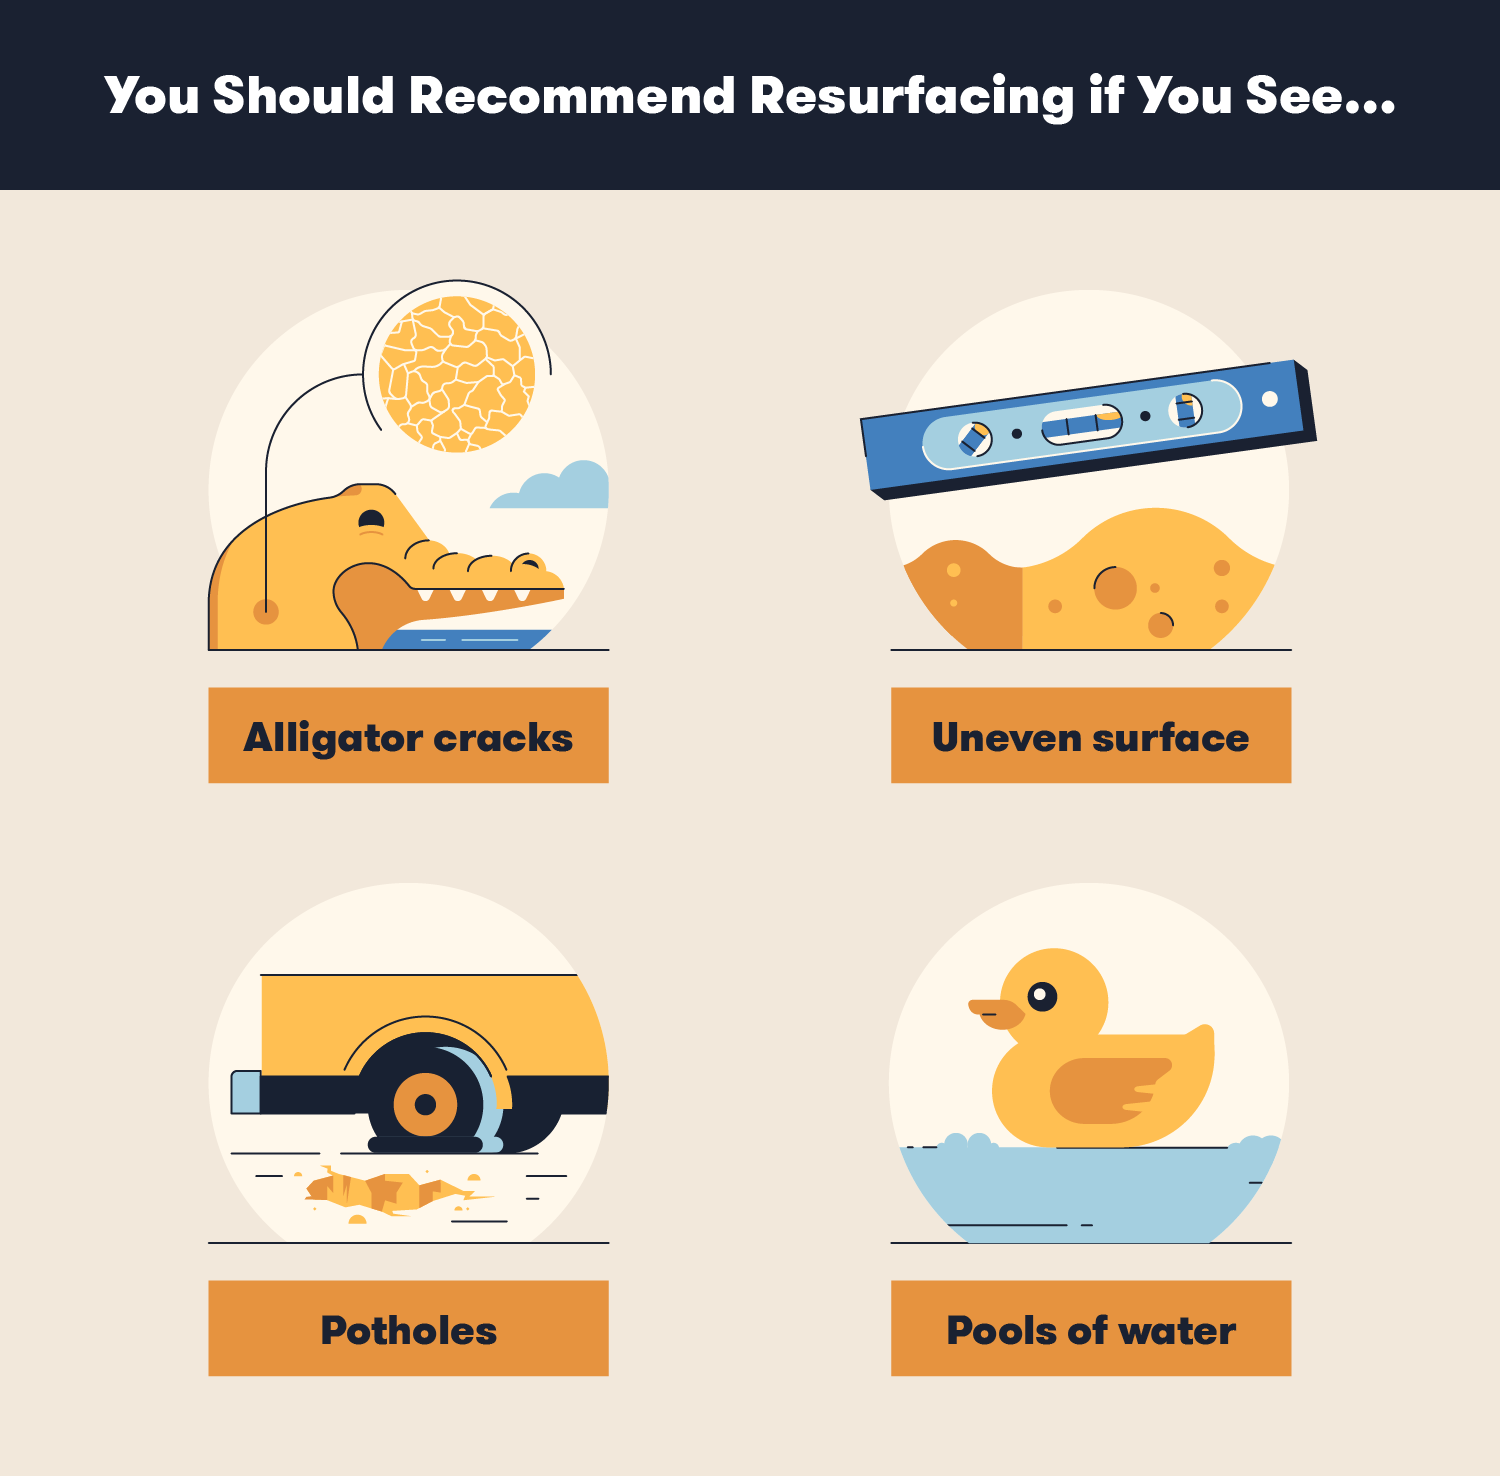
The signs you need resurfacing tend to be pretty apparent. Tell your clients to look out for damages or signs of aging like:
- Alligator cracks (a pattern of cracks resembling alligator skin)
- Uneven surfaces
- Potholes
- Pools of water
The environment also plays a role in how often you should resurface a driveway. In places that see more extreme weather patterns, asphalt will wear out faster. In places like Florida where there is a lot of sun exposure, cracks form quicker as the sunlight oxidizes oils in the asphalt.
Asphalt Resurfacing in 7 Steps

Asphalt resurfacing requires only a few steps; however, complete care is somewhat ongoing. It can take up to a year for the asphalt to cure. Additionally, the asphalt needs to be resealed every two or three years.
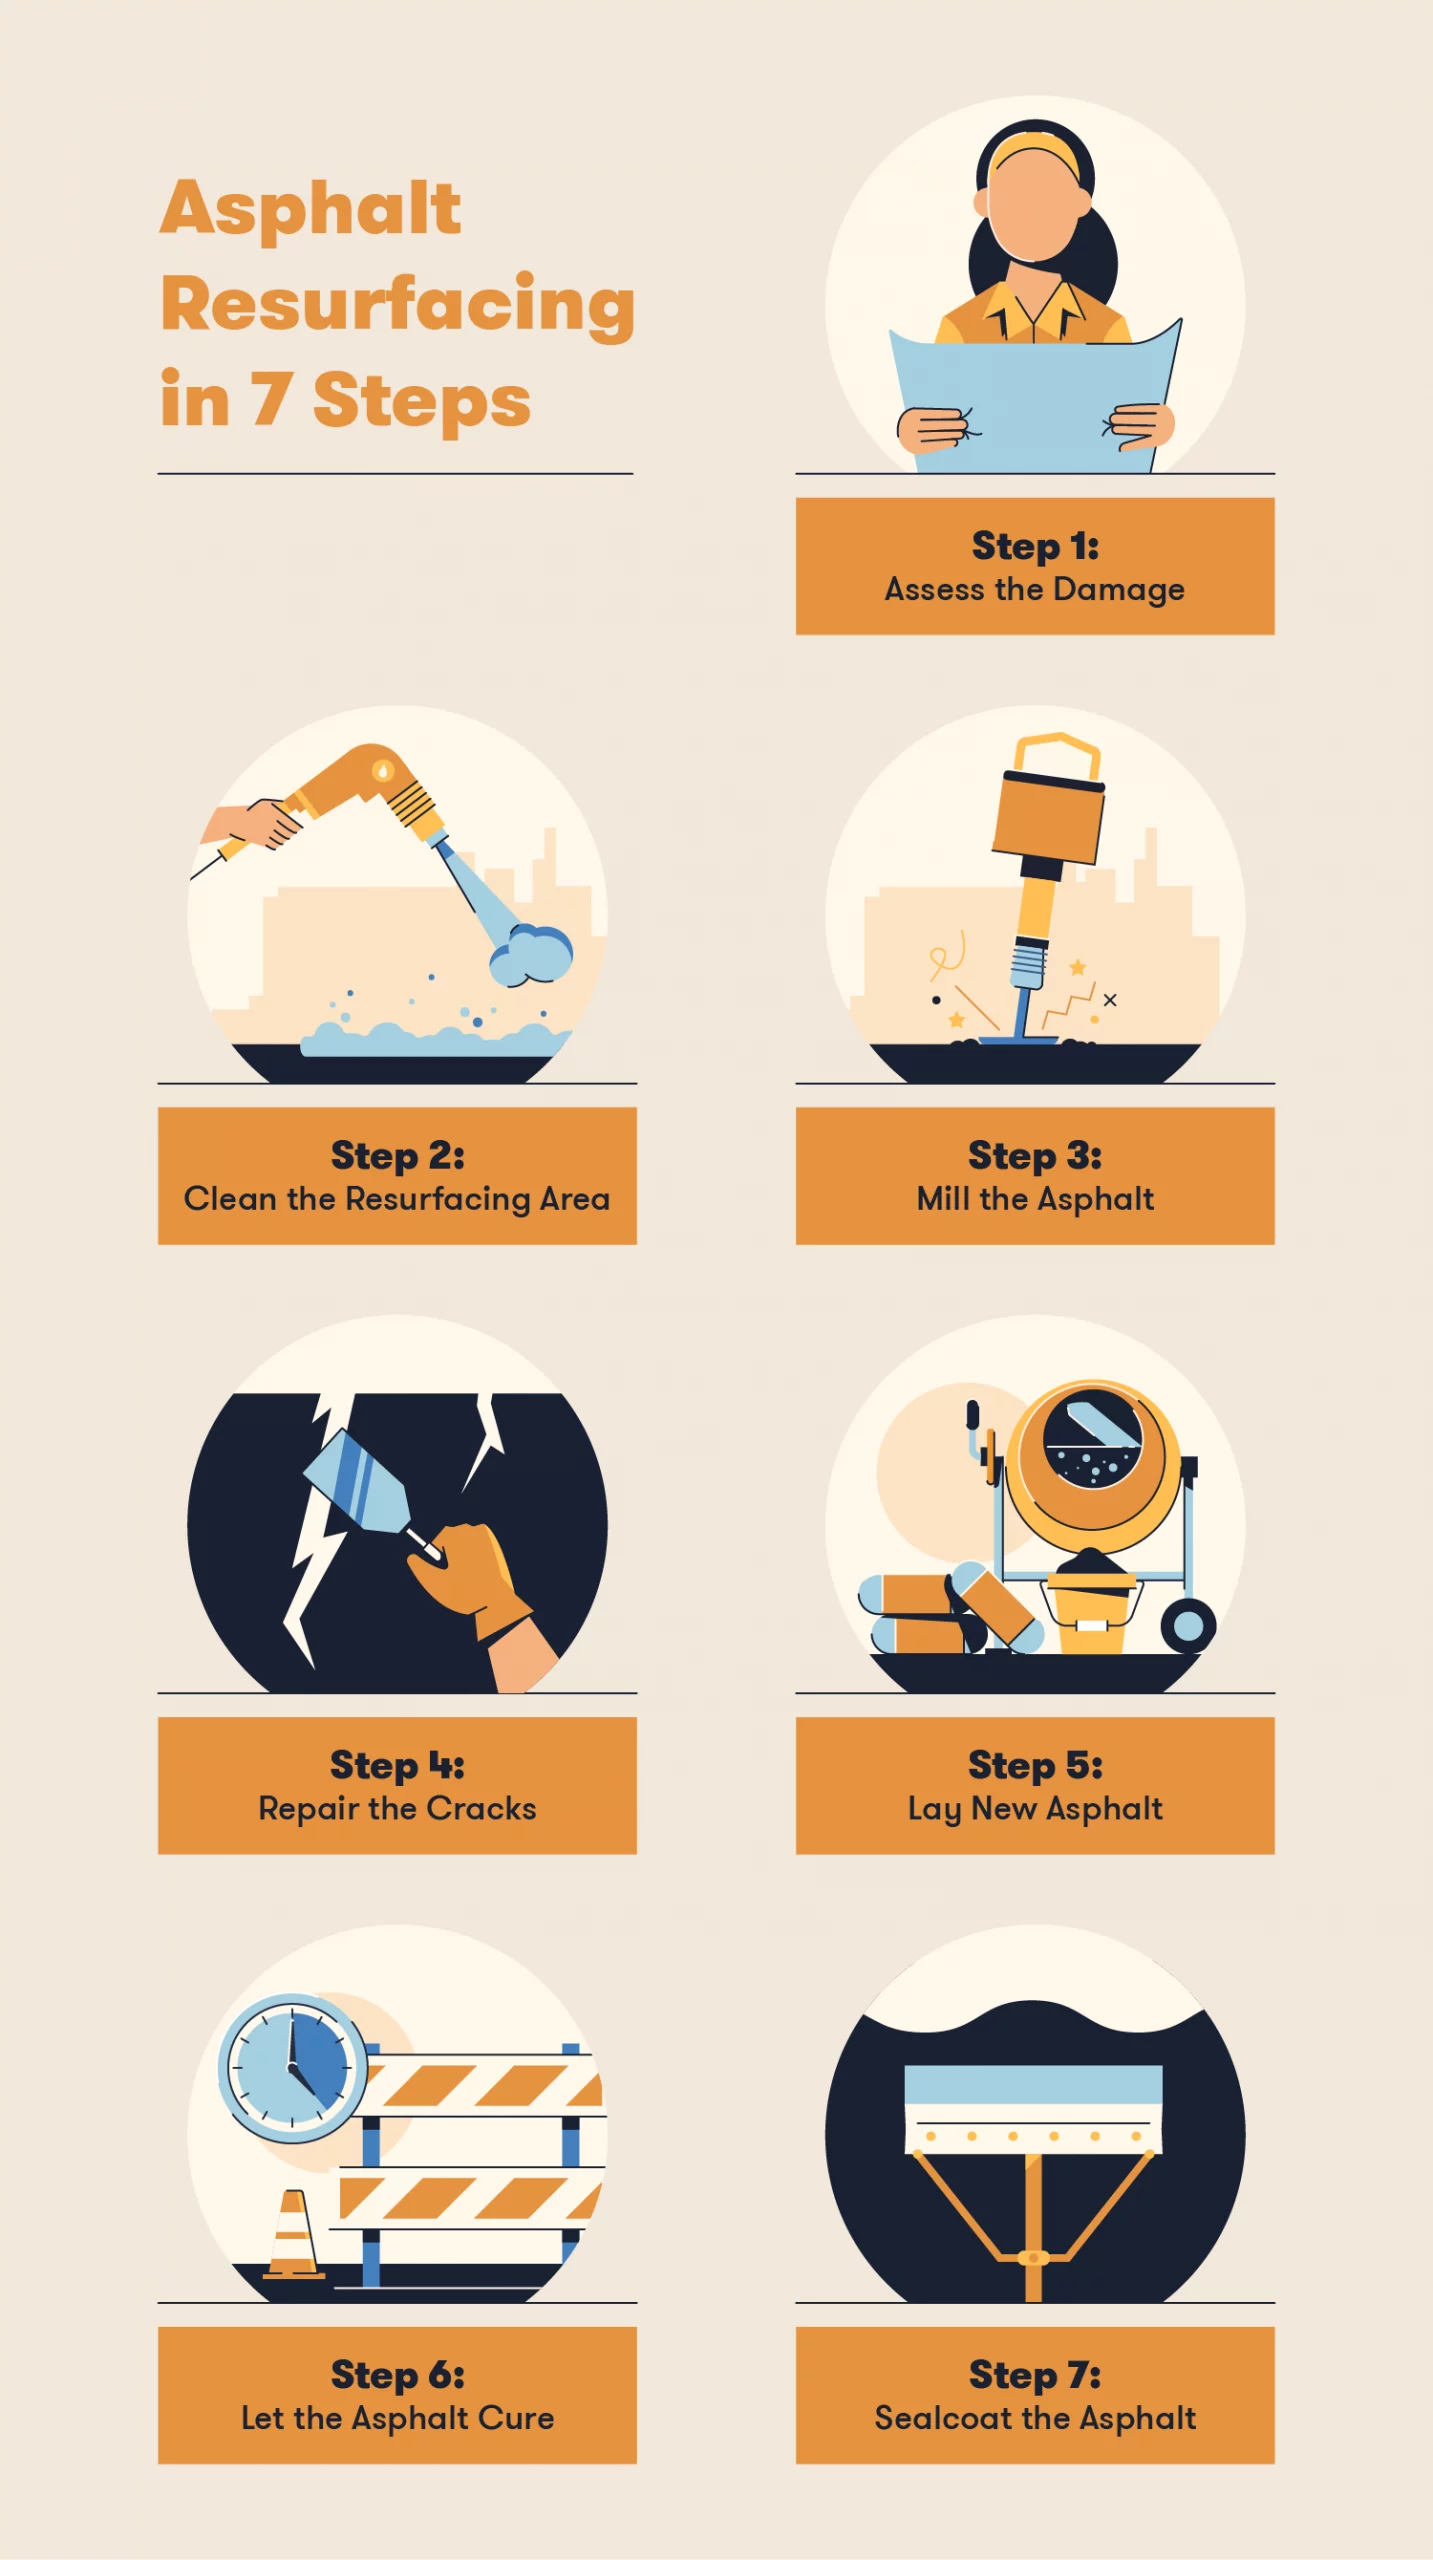
The resurfacing process is typically done in seven simple steps:
1. Assess the Damage
Before launching into any asphalt repair job, it’s imperative to assess the damage to know if a resurfacing is even the right solution. For this step, examine whether the damage is simply to the top layer or if there is structural damage below.
If you invest time and money in asphalt resurfacing when a replacement is needed, the structural damage will show in a few years.
2. Clean the Resurfacing Area
Before you get to work, ensure you prep and clean the area before launching into the process itself. Basic preparation involves:
- Pulling weeds out of the asphalt and removing debris.
- Cleaning the asphalt with cleaning solution and water.
- Scrubbing remaining dirt from the asphalt.
- Allowing the asphalt to fully dry (usually takes 24 hours).
Power washing the old asphalt before resurfacing is particularly important because it ensures you don’t seal dirt, debris and other harmful substances within the fresh asphalt when you sealcoat the bottom layer later on.
3. Mill the Asphalt
After the asphalt surface is clean and dry, it’s time to mill the top layer with a power rammer, which is a type of compactor. Milling will grind the existing asphalt so you can easily replace it with the new asphalt.
For minor milling jobs, you can likely get away with using a shovel or a trowel for digging up and repairing broken asphalt. However, for larger projects, a power rammer will expedite the process.
4. Repair the Cracks
Repairing the damage requires you to fill the cracks with crack filler and sealcoat the bottom layers of the asphalt, which holds the bottom of the asphalt to the top. You can choose from different crack fillers at Home Depot or a similar store.
Once you fill the cracks, take a flat blade, like a putty knife, and smooth out the crack filler over the repaired area. Make sure the filler is completely smooth and leveled.
5. Lay New Asphalt
Once you repair and seal the cracks and damages, it’s time to lay the fresh asphalt. This step is the actual resurfacing step of the process as it refers to rolling and paving the smooth new surface of fresh asphalt.
When you pour the new asphalt, the mixture should stick to the layer below it. To complete this step, you’ll pour the asphalt equally on whatever paved surface you’re working on — whether it’s a driveway, roadway, parking lot or other surface.
6. Let the Asphalt Cure
An integral part of the process is giving the new asphalt enough time to cure.
For the first three days after laying the new asphalt, no one should drive over the surface. The asphalt won’t fully cure for six to 12 months, but that doesn’t mean your client has to avoid their driveway or close their parking lot for a year. However, large heavy vehicles should stay off the asphalt to avoid depressions forming.
During the curing process, it may appear at times that some areas are smoother than others. This is completely normal as asphalt mixtures are made up of elements with different textures. Additionally, resurfacing done by hand versus machinery like a roller will look slightly different during the curing process.
7. Sealcoat the Asphalt
Sealcoating the asphalt six to 12 months after you lay the fresh coat is pivotal for preserving the new layer. However, sealing too soon can damage the new pavement — as it hasn’t had enough time to cure yet.
When asphalt is curing, it’s particularly susceptible to the elements — like rain, car oil, antifreeze etc. These harmful elements can seep through the fresh coat of asphalt into the layers below, leading to quicker deterioration. Sealcoating the asphalt after six months protects the new asphalt and ensures you get the most out of the resurfacing process.
As a rule of thumb, you should remind your clients that asphalt pavements need resealing every two to three years to fend off cracks — especially if they live somewhere with exposure to elements like high UV rays or lots of snow.
Asphalt Resurfacing FAQs
When consulting on asphalt resurfacing, some common questions may arise — especially from home owners. Some of these typical questions include:
How Long Does It Take To Resurface Asphalt?
From start to finish, the process can take up to a week. It can take up to a day for the driveway to dry after the power wash. From there, depending on the damage, the milling can be longer and more tedious. Once cracks are filled and the new asphalt is laid, the surface shouldn’t be driven on for at least three days.
Is It Better To Resurface or Replace an Asphalt Driveway?
It depends. If your driveway doesn’t need a replacement yet but has damages, then a resurfacing is the way to go. However, if a driveway has structural damage, then a resurfacing won’t do much to help. A resurfacing is most appropriate for maintaining newer driveways to ensure they maximize their working life.
Can You Put New Asphalt Over Old Asphalt?
Yes. This is essentially what happens during asphalt resurfacing. Also known as asphalt overlay, the process refers to removing the top layer of broken asphalt and putting a fresh layer over the existing bottom layers.
How Much Does It Cost to Resurface a Driveway?
The driveway resurfacing cost generally depends on the length of the driveway itself, as most companies charge by square foot. For a typical 600 square foot driveway, it’s safe to expect around $3–$5 per square foot, which totals $1,800 minimum.
While this may seem like a lot, a driveway replacement generally runs north of $4,000.
Get Started With Asphalt Resurfacing Today
Of all the steps in the process, the milling and spreading of the new asphalt could benefit most from high-grade tools operated by a professional. BigRentz provides equipment rentals for products that can make for easy asphalt resurfacing, like our double drum ride-on rollers.
Explore All Compaction Equipment